

Let’s Make Text Larger on Windows 10 or Windows 11
Those of you who have been looking for a way to make the text bigger on your Windows 10 or Windows 11 PC will be happy to know that changing text size is now easier to do.
How to Make the Text Larger (or smaller)
We’ll use screenshots from Windows 11 for this tutorial, but changing the text size in Windows 10 is virtually the same. In Windows 10, the text-size slider is located in a different section of Settings, specifically Ease of Access> Display.
To get started, press and hold down the Windows key and tap the U key. (This shortcut will open Ease of Access on Windows 10 and Accessibility on Windows 11. )
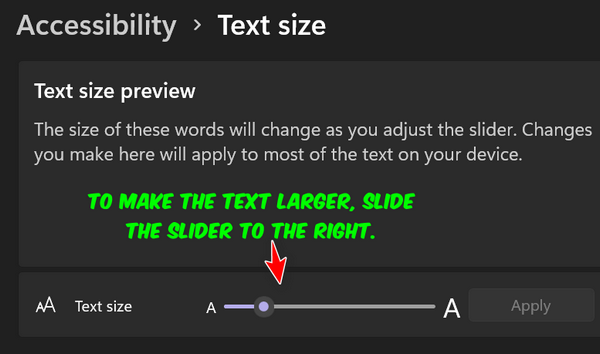
As you move the slider to the right, you’ll see the text size increase. The smallest text size is 100% and the largest you can make your text is 225%. But be cautious, making your text too large can cause problems. When the text gets too large, it might not fit inside a program window or dialog, and you don’t want that.
My normal text size setting is 120%.
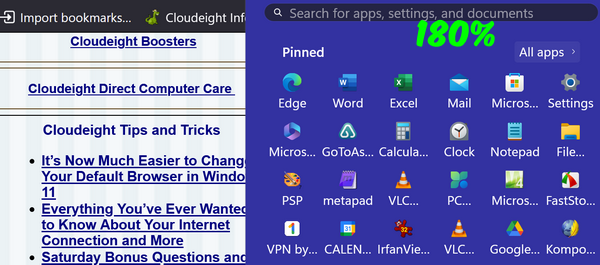
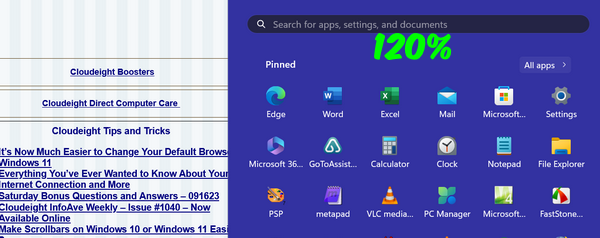 Now I’m going to move the slider up to 180%. Notice the text size on the webpage behind the Start menu at 120% (above) versus 180% below. Also, note the text labels on the Start menu at 120% and 180%.
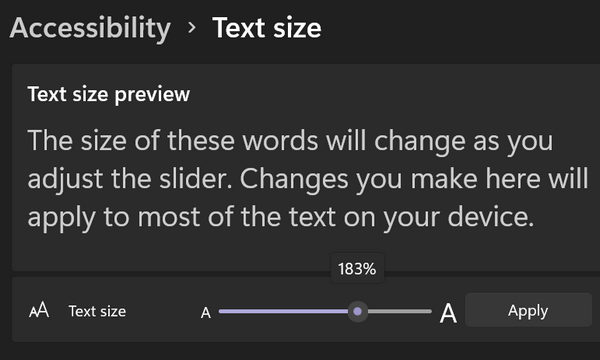
When you change the text size, you must click “Apply” to make the change. When you click apply, you’ll see a blue screen telling you to “Please wait” while the changes are being made. When the blue screen disappears, your news settings have been applied. And they’ll remain that way unless you change the text size settings again.
Keep in mind that not all programs will be affected by this change, but many will. If you’re like me, you’ll have to play with this setting to get the text size that works best for you and the way you use your computer. The nice part about it is, it’s quick and easy to change. So, experiment and see how you can make the text on your computer easier to read.
If you want to make text bigger on web pages and in emails, see our tip here.