

How to Check Your Hard Drive(s) for Errors
A tip for Windows 10 and Windows 11
Windows 10 and 11 let you scan your hard drive(s) for errors while you use your computer – and it’s easy to do.
Let’s scan your Windows drive (usually C:\)for errors.
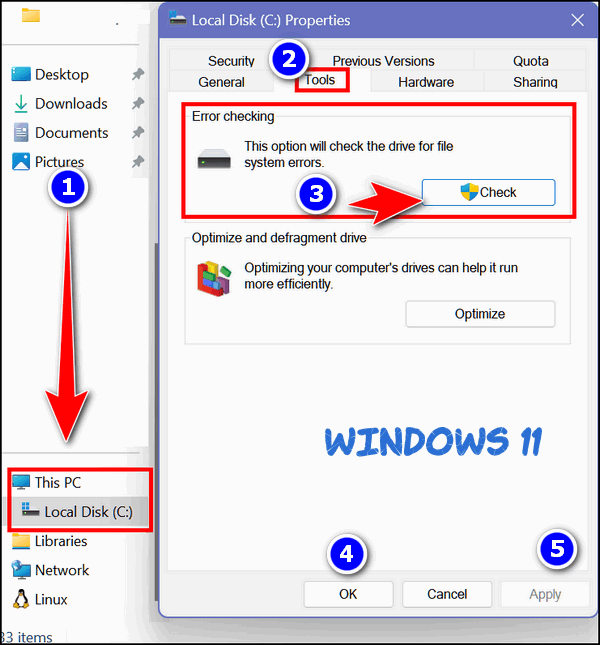
Open File Explorer (Windows Key + E). On the left pane under This PC, right-click on your C:\ drive, and click “Properties”. When the “Properties” dialog opens, click the “Tools” tab, and then click the “Check” button.
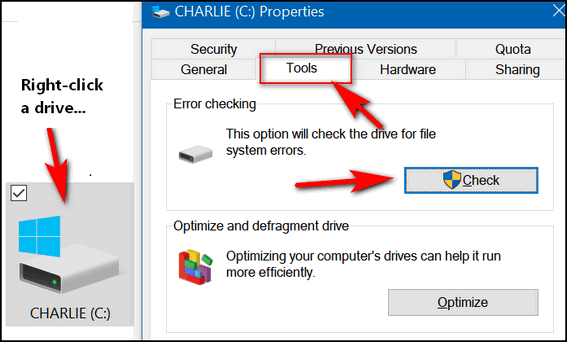
Above: Windows 10. Below: Windows 11.
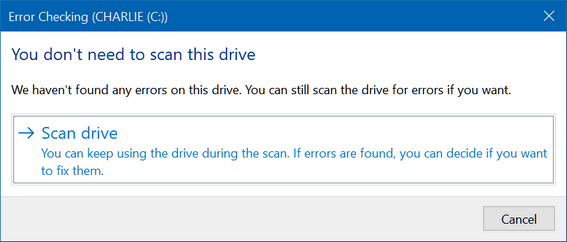
Once you click the “Check” button, you’ll see the following dialog appear. If you need to scan the drive for errors, it will tell you. If you don’t (as below) it will tell you that also. Even if it says, “You don’t need to scan this drive”, you can still scan the drive if you want to. Just click “Scan drive”.
You can scan any hard drive using this tip.
Bonus Tip: Scan your hard drive(s) using a Command Prompt.
1.) Type CMD in the taskbar search.
2.) In the search results click on “Run as administrator”.
3.) At the prompt, type the following command and press Enter. (Make sure you leave a space before the slash.)
CHKDSK /SCAN
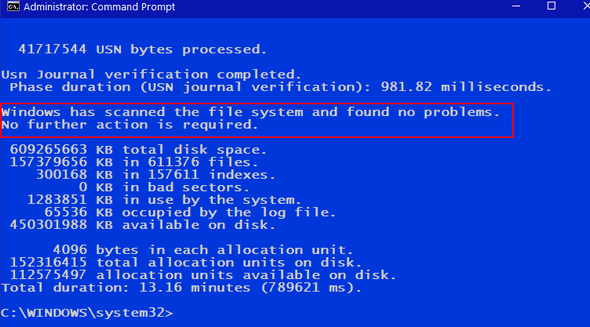
Windows will scan your drive…

Above Windows 10: Below Windows 11.
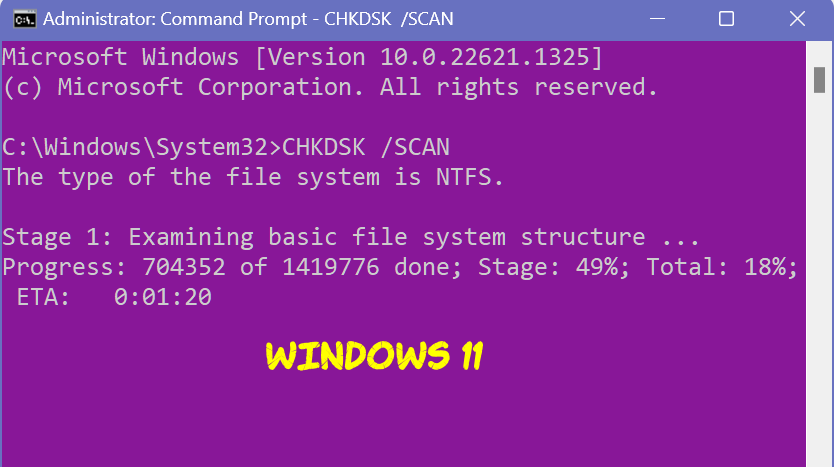
And when the scan is done Windows will let you know if further action is required. As you can see, I don’t need to do anything more. My drive is fine.
And now you know how to check your hard drives(s) for errors!
And one more thing…
if any errors are found you can fix them by following the instructions provided if the scan (as shown above) finds any errors.