

How to Sequentially Rename Files in a Folder with Just a Click (Windows 10 and Windows 11)
I’ve been using Windows since 1998 and I’ll never stop learning new things about Windows. Here’s a trick I recently discovered that makes it super easy to sequentially rename files in a folder with just a click.
To get started, open the folder containing the files that you want to bulk rename in a series. Next, make sure you have changed the view option.
For Windows 11: Click the View button at the top of File Explorer, from the drop-down menu choose “Details” so you see the name, date, type, and size of the file.
For Windows 10: All you need to do is click the View tab at the top of File Explorer and choose Details.
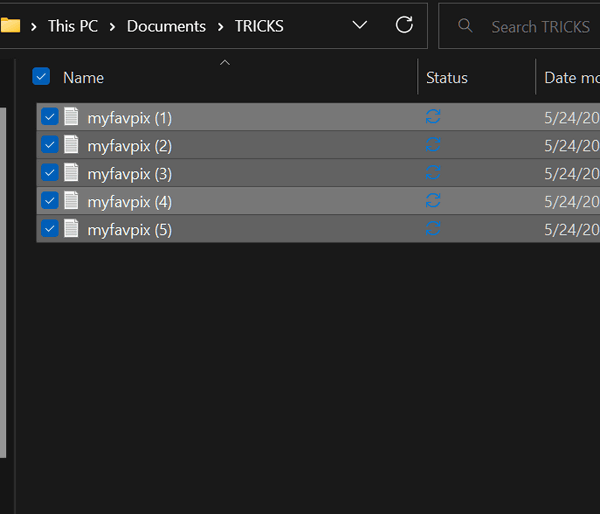
Now, select one of the files in the folder and press Ctrl + A. to highlight all the files in the folder. Once all the files are highlighted, press the F2 key. When you do that, you’ll be prompted to rename that first file in the list in File Explorer.

Name the first file whatever you want. As you can see in the example above, I renamed the first file in the folder myfavpix. After I renamed the first file in the folder, all I had to do then was press Enter and all the files in the folder were renamed using the same name, but with a digit added to differentiate the files.
And that’s it! You’ve just bulk renamed all your files in a folder sequentially with just a click!
My “F2” key lowers my speaker’s volume. I don’t think that’s the key you’re referring to? Is there another option?