

5 Tips That Make Windows 11 Easier to Use
If you’re using Windows 11 or plan to soon, here are five tips to make Windows 11 easier to use.
1. Change the taskbar alignment
By default, the Windows 11 taskbar is centered, which also means the Start button isn’t at the left edge of the taskbar as it has been in all previous versions of Windows.
If you want a more traditional Windows taskbar, it’s easy to do:
1. Right-click on the taskbar and click “Taskbar settings.”
2. Scroll down to “Taskbar behaviors.”
3. Use the arrow next to “Taskbar alignment” “Center”, and change it to “Left”
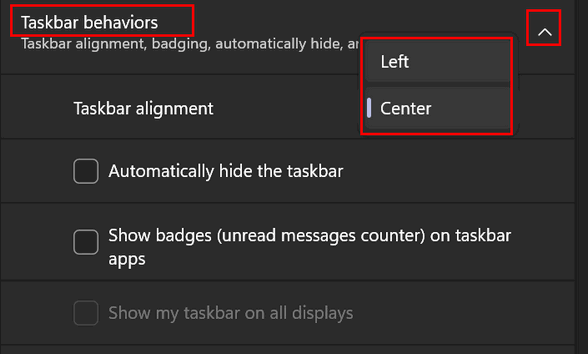
4. Your taskbar is now left-aligned as it was in Windows 10 and earlier editions of Windows.
2. Expand the right-click menu
Windows 11 has (for whatever reason) a simplified, minimalistic right-click menu. The right-click menu, by default, only shows the most often-used options.
But the classic Windows right-click menu is still there. You can see it by right-clicking a file or folder and clicking on “Show more options” – or more quickly by holding down the Shift key while right-clicking on a file or folder. Holding down the Shift key while right-clicking on a file or folder shows the full context menu, like the one you saw in Windows 10.
3. Hide the Copilot, Chat, and Widget app icons
Taskbar real estate is precious. Many of you are not going to use the Windows 11 Widget app, and even fewer will use the Chat (Microsoft Teams) app.
To hide the Copilot, Chat, and Widgets app icons on the taskbar
1. Press Windows Key + I to open Settings
2. In Settings, choose “Personalization” > “Taskbar”
3. Under “Taskbar items,” turn the switch for Copilot, Chat, and Widgets to “Off”.
If you want to use any of those apps, you can use them without their icons taking up space on your taskbar using the following shortcuts.
To open Copilot, use the Windows key + C shortcut.
To open Widgets, use the Windows key + W shortcut.
If you want to open Chat (Microsoft Teams), type TEAMS in the taskbar search and press Enter.
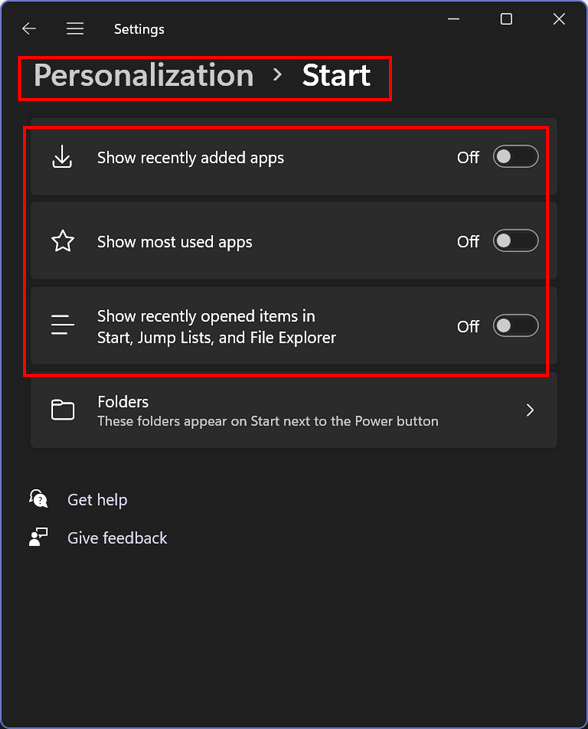
4. Stop “Recommended” from showing on the Start menu
The Recommended section in the new Start menu shows the most recently installed apps, opened files, and other recommendations. If you don’t want this showing up on your Start menu, turn off recommendations this way…
1. Open Settings (Windows Key + I)
2. Choose Personalization > Start
3. Toggle the switches next to “Show recently added apps”, “Show most used apps”, and “Show recently opened items in Start, Jump Lists, and File Explorer”
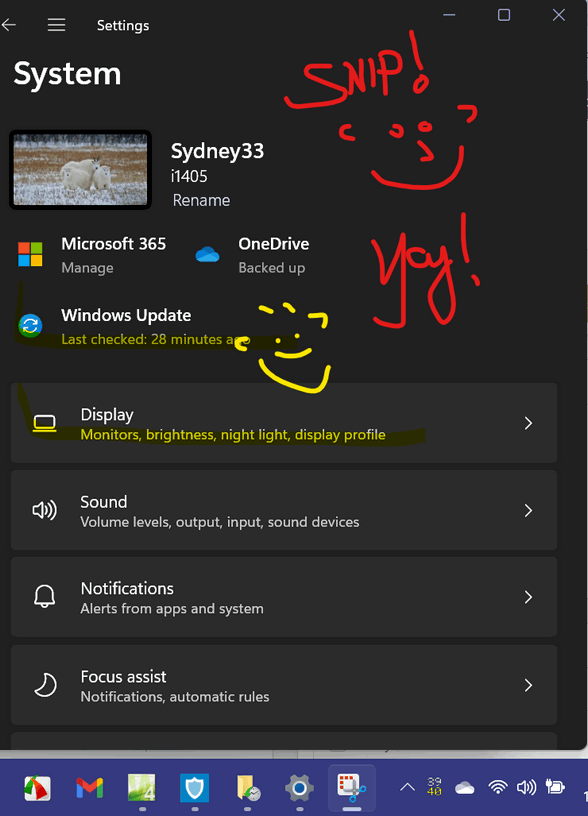
5. Take screenshots in Windows 11
Windows 11 comes with an advanced Snipping Tool that makes it easy to create screenshots without installing any third-party software.
Open the Snipping Tool from the Start menu (or type SNIPPING in the taskbar search & press Enter). When you’re ready to take a screenshot, use the keyboard shortcut Windows Key+Shift+S. You’ll be able to take screenshots of a section of your screen, your whole screen, or create a free-style snippet. After you’ve snapped your screenshot, you can crop it, annotate it, and more.
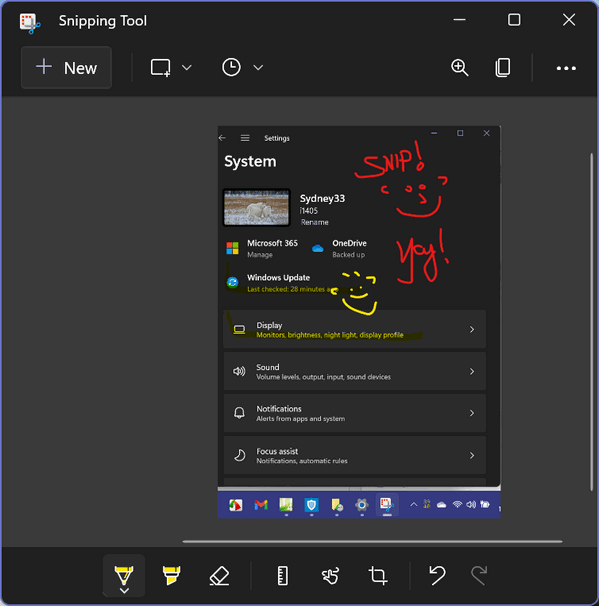
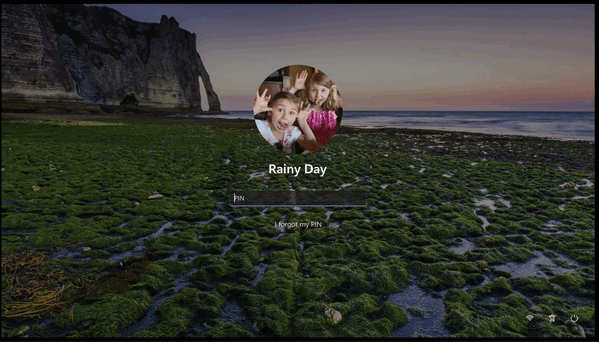
And by using the Snipping Tool’s delay feature, you can even screenshot your Windows 11 login screen.
Another way to take screenshots
Take a screenshot of your entire screen by pressing the Windows key and the PrntScr (Print Screen) key. If you’re using a laptop, you may have to press the Fn + Windows key + PrntScr (Print Screen) key.
Wow, this was so helpful. Our school just transitioned to Windows 11 and we have many questions about it. Thanks for always thinking of what is going to be needed by those of us less tech savvy. I know I really appreciate it.