

When Your Laptop Doesn’t Automatically Connect to WiFi
It’s not uncommon for laptop users to find their laptops don’t automatically connect to the WiFi network. If your laptop does not automatically connect to your WiFi network here are some tips for you.
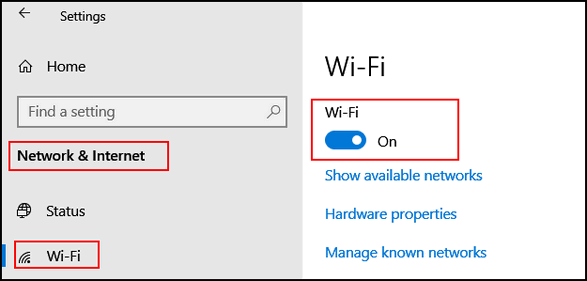
Make sure Windows 10 WiFi is turned on
Right-click on the start button, click on Settings and then on Network & Internet.
Make sure your power options settings are correct
#1. Type Power Options in taskbar search and press Enter.
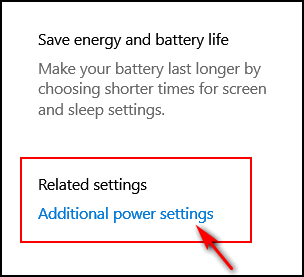
#2. When Power & sleep settings opens, click on “Additional power settings”
#3. In the Additional power settings dialog, under “Change settings for the plan….” then click on “Change advanced power settings”.

#4. Click on “Wireless Adapter settings”
Make sure you have the mode you use most often (Plugged in or On battery) set to Maximum performance.
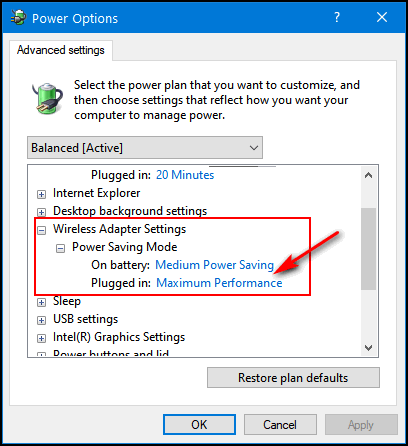
If you make any settings changes make sure you click “Apply/OK” before you close the window.
Adjust the WiFi Adapter power management settings
#1. Press Windows Key + X and click on Device Manager
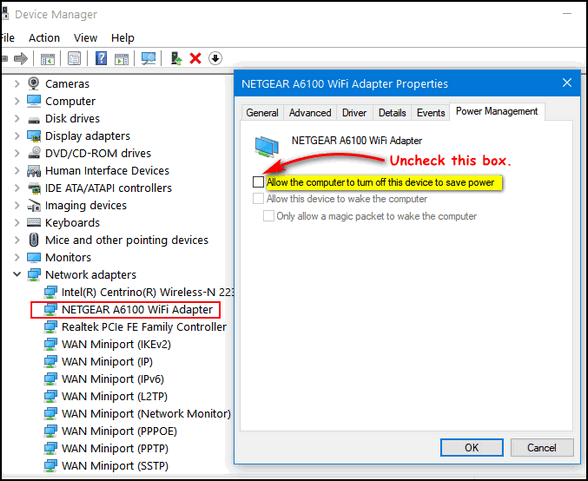
#2. In Device Manager, click on Network adapters to expand it.
#3. Find your wireless adapter, right-click on it, then click on Properties.
#4. In the WiFi Adapter Properties window, uncheck the box next to “Allow the computer to turn off this device to save power”.
We hope these tips help you automatically connect to the WiFi network whenever you start your laptop.