

Storage Sense in Windows 10 October 2018 Update (Version 1809)
This tip is for Windows 10 Version 1809 – October 2018 Update. But most of the features shown below are included in Windows 10 Version 1803 April 2018 Update. So, if you’re using Windows 10 Version 1803 you’ll be able to use many of these features in your version of Windows 10.
In the next version of Windows 10 (Version 1809 – October 2018 Update) Microsoft is deprecating (but not removing) Disk Cleanup. Microsoft wants you to use the improved Storage Sense like an auto-pilot to automatically clean up junk files, temporary files and other useless files as you use your computer.
One big change coming to Storage Sense in Windows 10 Version 1809 is the way One Drive can be set up. One Drive stores folders in the cloud and on your PC. But in Version 1809 you’ll be able to clean (delete) the files stored locally and keep those files on One Drive in the cloud. (Microsoft calls this process “dehydration”. I guess that’s cool-speak because it doesn’t make a lot of sense as we’re not working with water.) Additionally, Microsoft provides an option for you to choose to keep certain files locally (on your PC or external drives); you’ll have an option to mark certain content for offline access, and then Storage Sense won’t remove your local copies.
If you’re using Windows 10 Version 1803 (April 2018 Update) you’ll find almost everything is the same in Storage Sense except for the One Drive feature.
Windows 10 Storage sense.
To use Windows 10 Storage sense go to settings (Windows key + i) and click on System > Storage.
In “Storage” under “Change how we free up space automatically”, you’ll see a switch where you can turn Storage sense on or off and change how often it runs (see screenshot below):
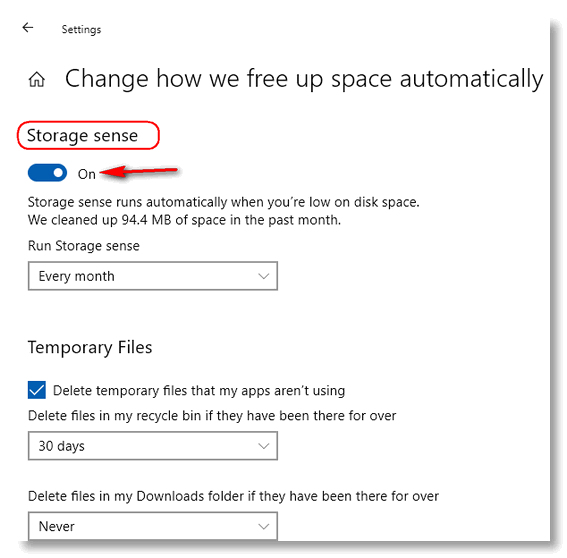
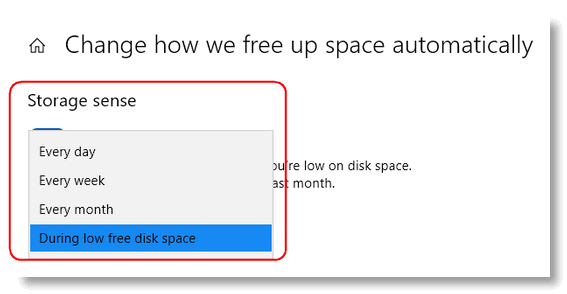
You can set Storage sense to run every day, every week, every month or only when disk space is low.
Delete Temporary files automatically.
After you turn Storage sense on, you’ll be able to delete temporary files and files in your recycle bin automatically on a schedule you choose. See the the screenshots below:
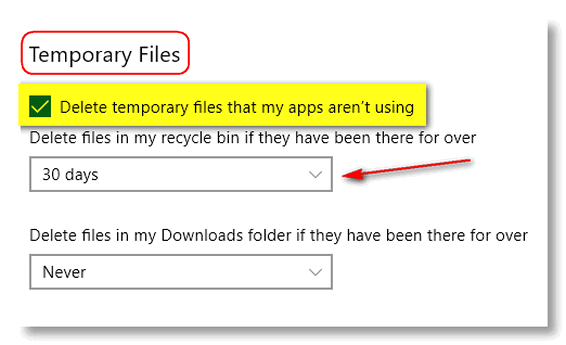
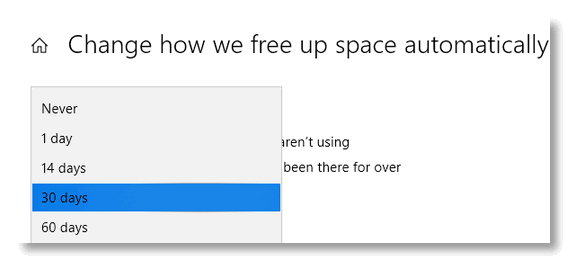
Above you can choose to delete temporary files, files in the recycle bin as well as files in the downloads folder every day, every 14 days, every 30 days , every 60 days or you can choose “Never”.
Clean up local One Drive Files.
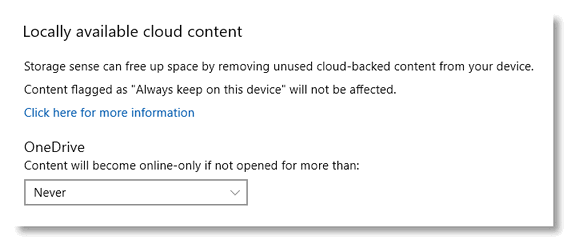
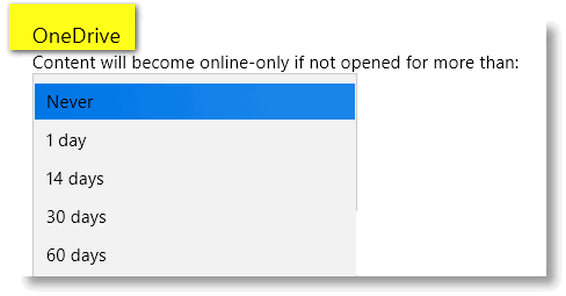
You can set Storage sense to remove local copies of files save in One Drive automatically after 1, 14, 30, or 6o days. The files removed will still be instantly available by clicking them in One Drive. This is called dehydration. you will also have the option of excluding certain files from this process. The important thing to remember is this is process to help save local hard drive space. The files that are “dehydrated” are still available on One Drive.
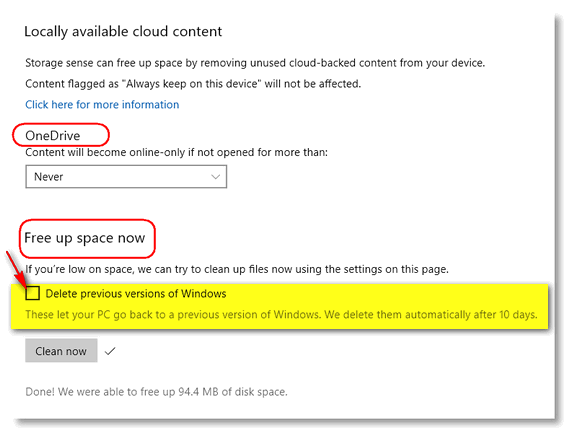
Free up space now
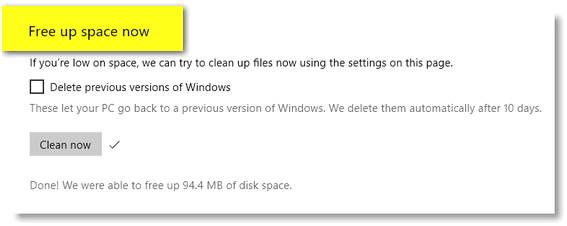
You can always choose to manually delete temp, junk and other unnecessary files, using the settings you have chosen above. Under “Free up space now” you can click the “Clean now” button to clean junk files. If you’ve recently update to a new version of Windows 10, make sure you don’t tick the box next to “Delete previous versions of Windows”. If you do, you won’t be be able to roll back to the previous version of Windows should you encounter problems with the newer version.
A close up of the manual “Clean now” option.
And even if you are running the new version of Windows 10 Version 1809, you’ll still be able to use Windows Disk Cleanup – type CLEANMGR in taskbar search and press Enter.
Can you safely delete One Drive? It keeps taking my Microsoft Word documents. I have a special folder I like putting them in and not the One Drive whatever. I cannot find those documents I type once that One Drive takes them. Sometimes I can catch them before the One Drive does but sometimes I can’t. So I would like to delete the One Drive. What do you think?
One Drive doesn’t take anything – it synchronizes your files and folders in the cloud. You can uninstall OneDrive :
1. Right-click the Start button.
2. Click “Settings”
3. Click “Apps”
4. In “Apps & features” find One Drive in the list and click on it.
5. Click “Uninstall”.